12 Video Editing with Kdenlive: Editing an Interview
Introduction
In this chapter, we will go over how to edit a video-based podcast episode. The structure of this episode will be roughly the same as that in the previous chapter, but rather than using Audacity to edit audio, we will be using a piece of open-source video editing software called Kdenlive (this tutorial is based on version 22.08.0).
For information on the Kdenlive user interface, you can consult the official documentation. You may also find it useful to look at the documentation’s page on keyboard shortcuts.
The structure of the episode we will be editing will be as follows: title > main content > outro.
Tutorial
Tutorial files
For this tutorial, download the following files, which you will be editing into a video:
Creating a new project and importing files
Now that you have downloaded the component videos of the interview, let’s begin the editing process.
Open Kdenlive. Once the interface has loaded, you will see a blank, unsaved project. Import the files you downloaded in the previous section in one of two ways:
- Keyboard:
- Open the “File” menu
- Select Open
- Navigate to the folder where you saved the files and open them
- Mouse:
- In your operating system’s file browser, open the folder containing the files
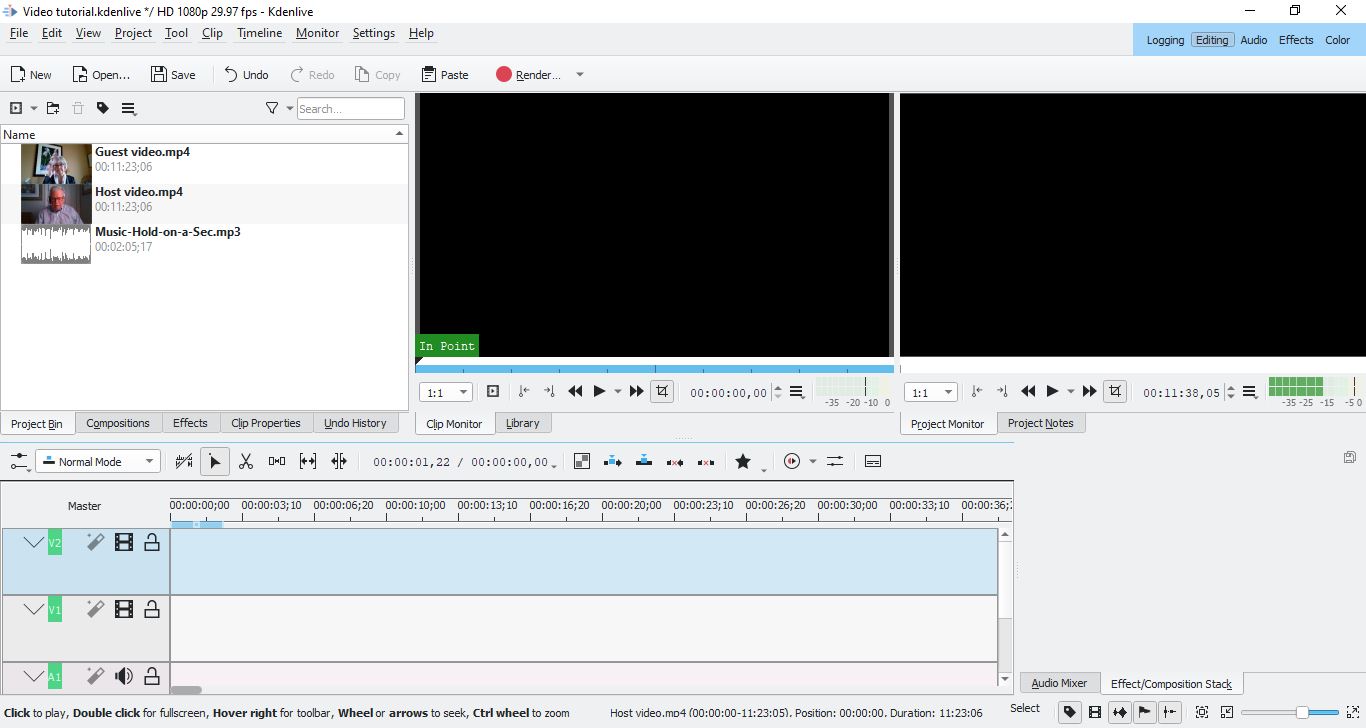
- Drag and drop each file from the file browser into the Project Bin in Kdenlive (which is the part of the interface that contains timestamps and rows for different tracks)
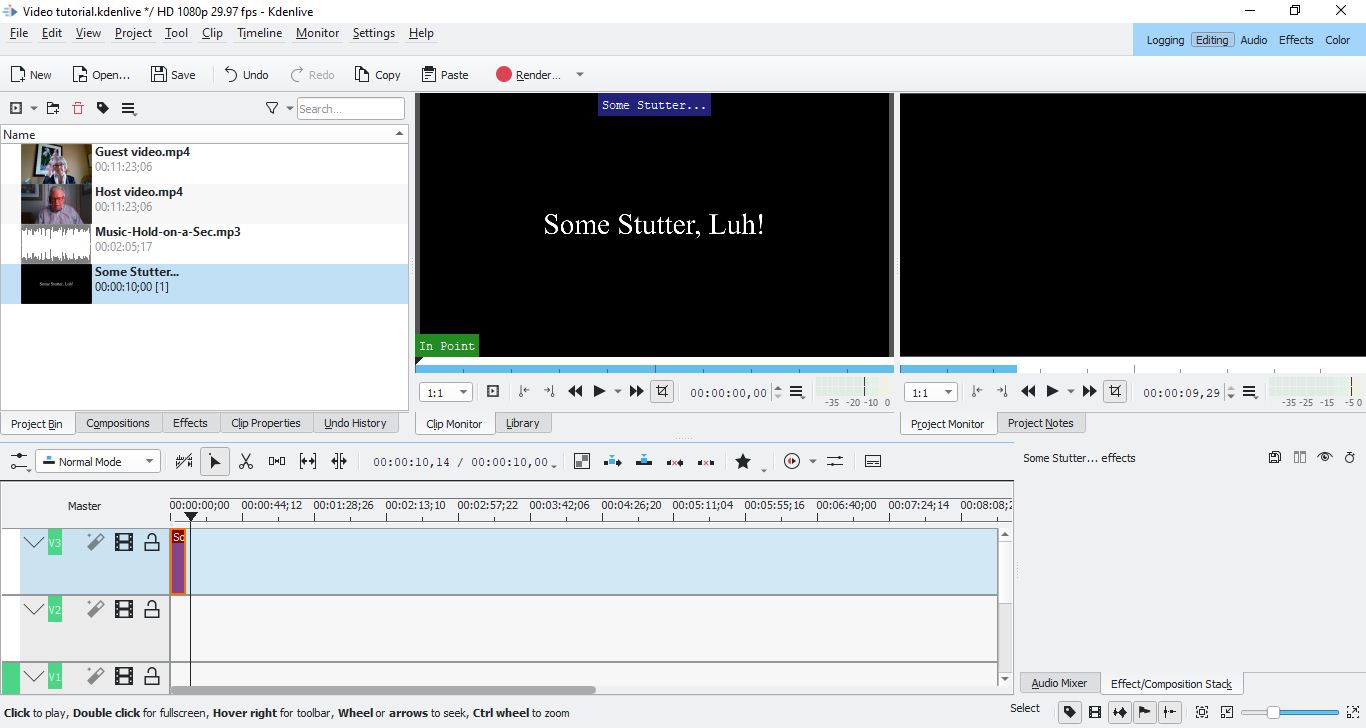
- Each file should be dragged into a different track. At this point, there should be three audio tracks (labeled A1, A2, and A3) and three video tracks (labeled V1, V2, and V3). You should drag the video clips into the video tracks, and the music track into the third, unoccupied audio track.
At this point, your interface will look something like this:
The intro
Now, we will create the intro, which will consist of the title of the podcast (“Some Stutter, Luh!”) on a black background.
To create a title for the intro:
- To create a Title Clip, go to the Project menu and select “Add Title Clip.” A window will pop up for creating a title clip
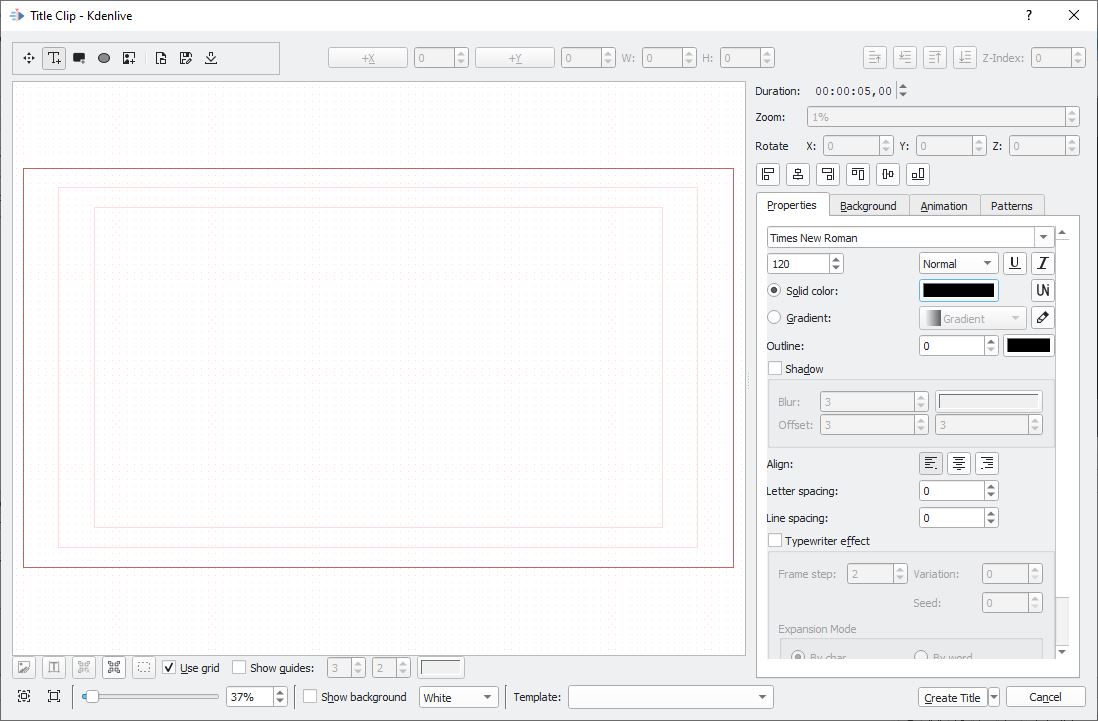
- Change the Duration (which is in the upper-right hand corner of the window) from “00:00:05,00” to “00:00:10,00” (this will change the duration of the clip from 5 seconds to 10 seconds)
- Click somewhere in the part of the window containing the black background (this will create a text box)
- In the box, type “Some Stutter, Luh!” (without quotation marks)
- In the right-hand side of the window, between the font dropdown menu and the “Solid color:” text, there is a box with a number. Enter the number 120 in the box (if it does not already contain the number 120)
- There is a row of buttons between the Properties tab and the “Rotate” row. Click the second button from the left (this is the “Align item horizontally” button)
- In the same row of buttons, click the second button from the right (this is the “Align item vertically” button)
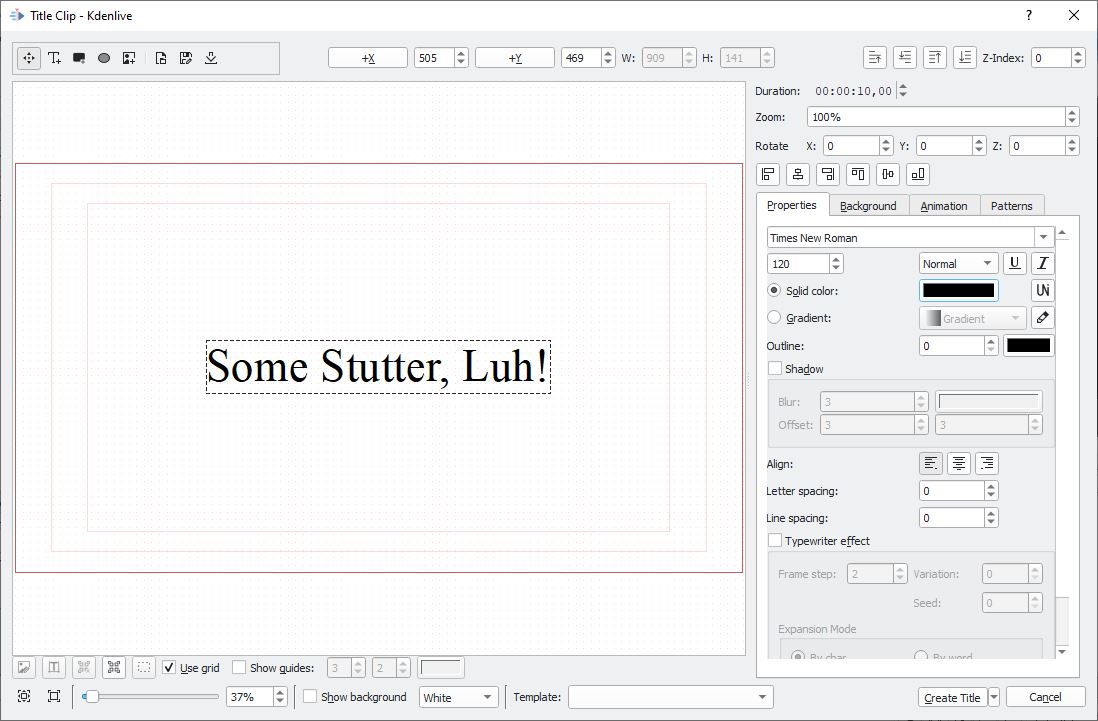
- Click the coloured box to the right of the “Solid color:” text
- Select the colour white (it is the last basic colour). (The text will now be invisible because it blends in with the background, but we will change the background colour below)
- Click the Background tab
- In the tab, there are two options: a colored box, and a slider. Click the box
- Select the colour black (it is the first basic colour) and click OK
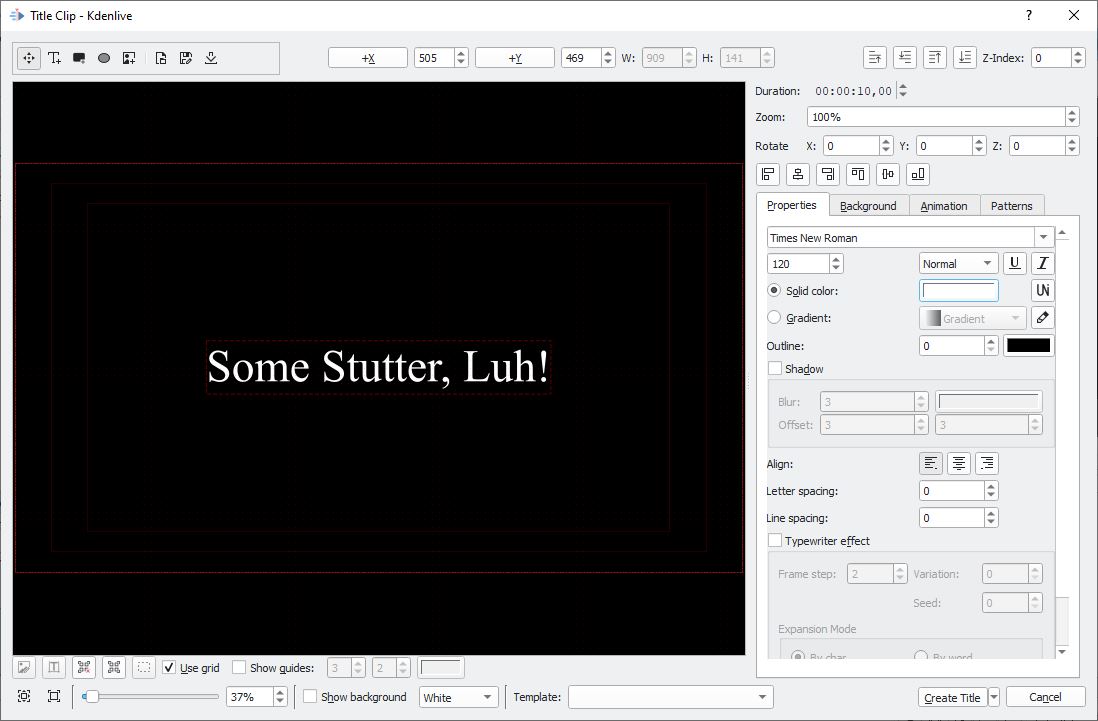
- Click on the “Create Title” button in the bottom-right corner of the window
In the timeline, there are currently two video tracks. However, since there will be three clips, we will need to create a new video track to contain the title clip we have just created. To do this:
- Below the word “Master” in the timeline, right-click on the panel of one of the tracks
- Click “Insert Track”
- Ensure that “Video track” is selected
- Ensure that the number of tracks to be inserted is 1
- Click OK
Now, drag the title clip from the Project Bin to the beginning of the new track we just created.
Next, we will need to add the videos for the host and guest and align the beginning of those videos with the end of the title clip. To make this easier, zoom in by adjusting the zoom slider in the bottom-right corner of the interface, or press Ctrl++ or Cmd++ (that is, press Ctrl or Cmd and then press +).
To add the videos for the host and guest:
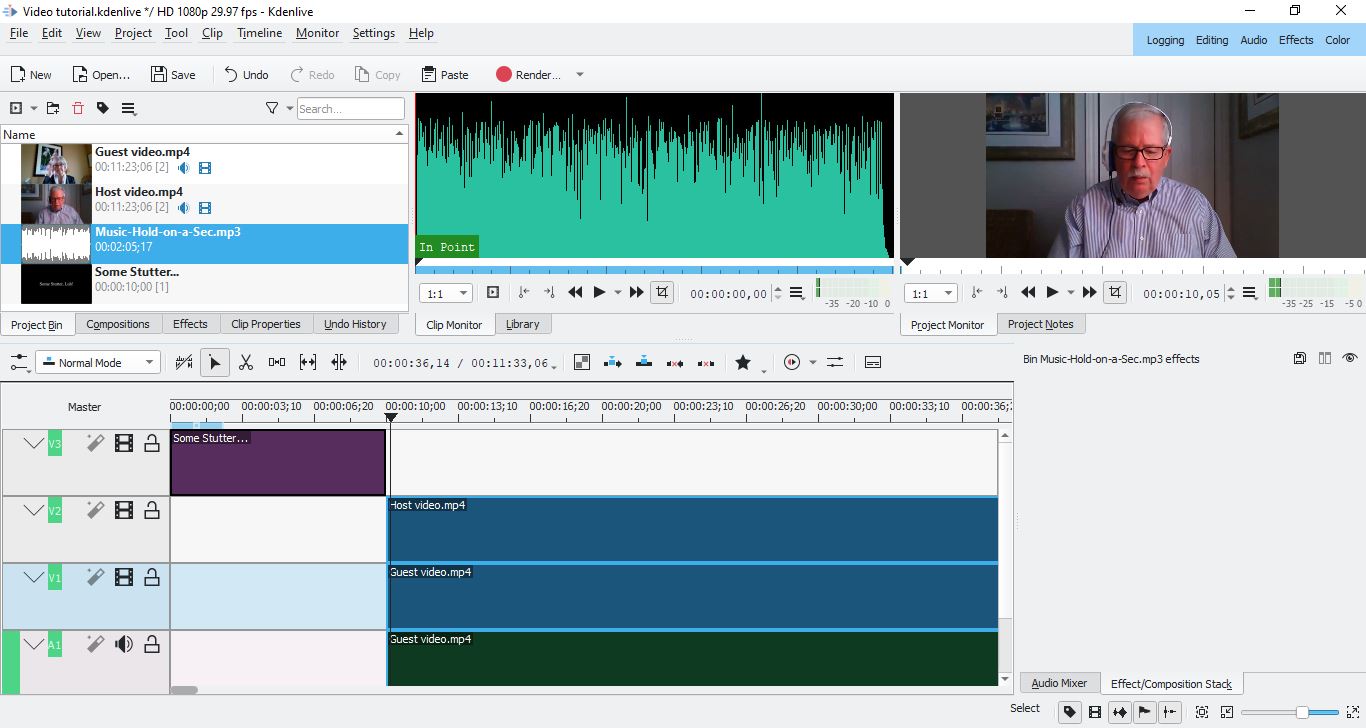
- Drag the host’s clip to the V2 track in the timeline so that the beginning of the host’s clip starts at the end of the title clip
- Drag the guest’s clip to the V1 track in the timeline so that the beginning of the guest’s clip starts at the end of the title clip
Now, we will add the intro music, shorten it, and then apply a Fade Out effect.
To add and shorten the intro music:
- Go to the Timeline menu, then to Tracks > Insert Track…
- Tick the “Audio box” button
- Click OK
- In the Project Bin, select the clip with the intro music and drag it to the beginning of the empty audio track you just created
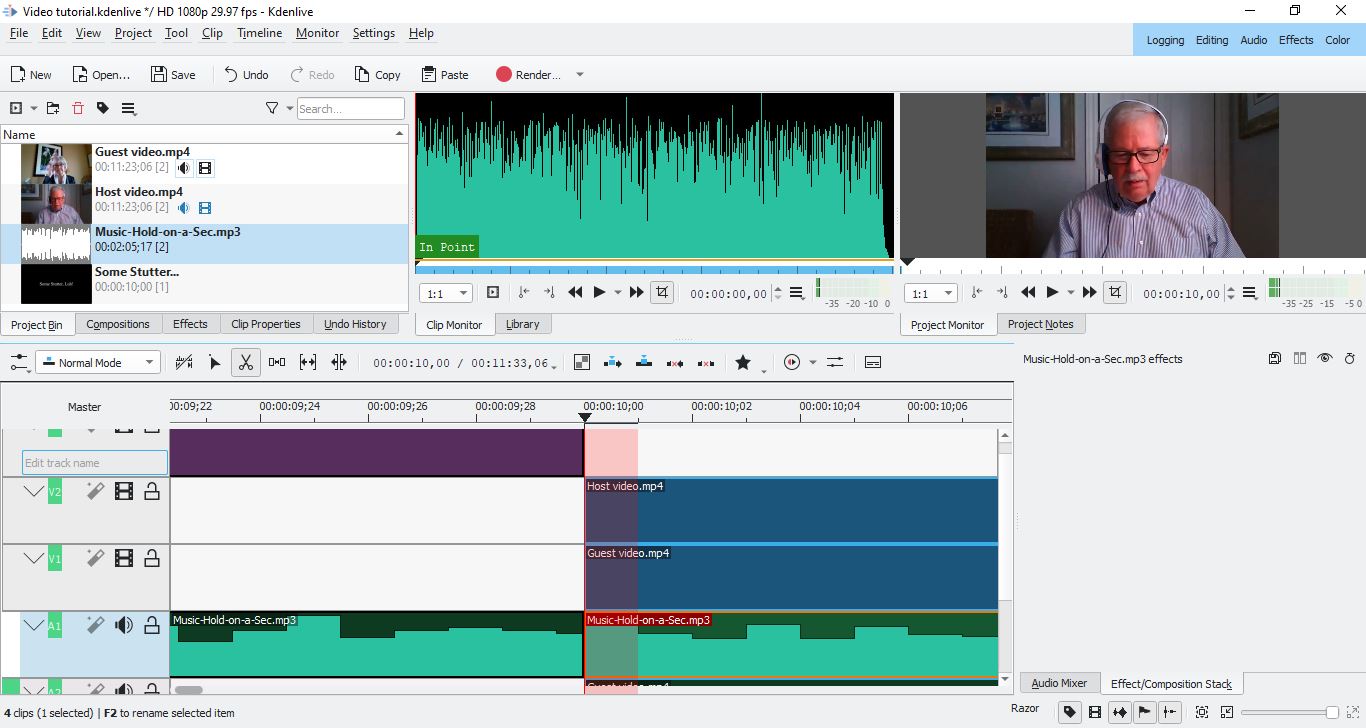
- At the top of the timeline (to the right of the word “Master”), there are a number of timestamps, as well as a number of vertical markers. Click on the marker that is above the end of the title clip
- You can zoom in by pressing Ctrl+- or using the Zoom Level slider in the bottom-right corner of the screen to check if the point you have selected is at the end of the clip rather than slightly before or after it.
- Press the X key to turn your cursor into a Razor Tool
- Click the point in the intro music clip to cut it into two clips
The second clip of music overlaps with the main content, so it should be moved to the end:
- Press S to turn the cursor back into a selection tool
- Select the second of the two music clips and drag it to the right so that it starts at the end of the host’s video and the guest’s video
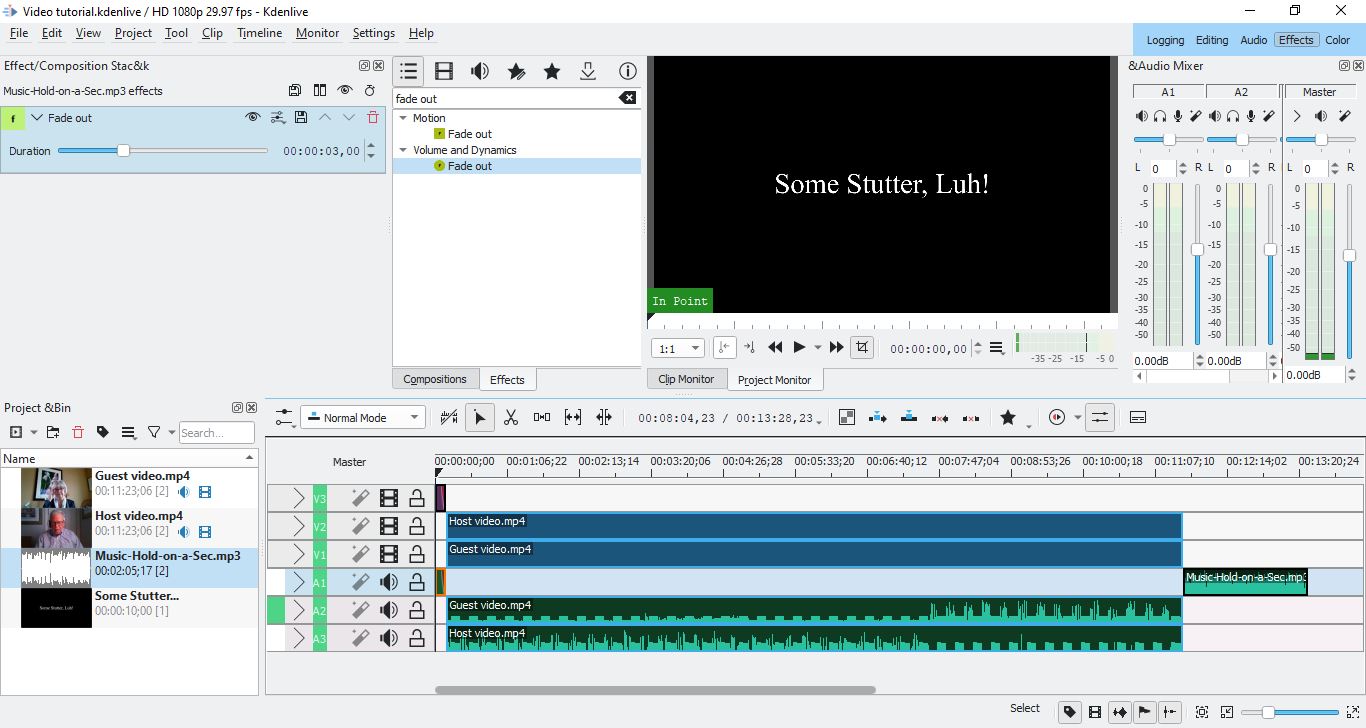
Now, we need to apply Fade out effects to the title clip and the intro music:
- Click on the Effects tab in the upper-right corner of the interface
- A search bar will show up in the left half of the screen. Type “Fade out,” and there will be two results: a “Fade out” effect under “Motion,” and a “Fade out” effect under “Volume and Dynamics”
- In the timeline, click on the title clip
- Double-click on the “Fade out” effect under “Motion”
- In the timeline, click on the intro music clip
- Double-click on the “Fade out effect” under “Volume and Dynamics”
We now have a simple intro. Next, let’s edit the main content.
Main content
In this project, the main content consists of two pairs of clips (where one is an audio clip and one is a video clip): one for the guest, and one for the host.
We have already aligned the main content with the title clip, so the only thing we need to do now is apply a Fade In effect to the beginning of each video clip. To do this:
- In the search bar that you used in the previous section, type “Fade in”
- Click the guest’s video clip
- Double-click on “Fade in” in the “Motion” category
- In the Effect/Composition Stack, there will be a section for the Fade in effect. In that section, tick the box that says “Fade from Black”
- Double-click on “Fade in” in the “Volume and Dynamics” category
- Click on the host’s video clip
- Double-click on “Fade in” in the “Motion” category
- In the Effect/Composition Stack, there will be a section for the Fade in effect. In that section, tick the box that says “Fade from Black”
- Double-click on “Fade in” in the “Volume and Dynamics” category
If you want to adjust the duration of any of the effects you have applied, you can do so by dragging the “Duration” slider in the “Effect/Composition Stack” tab or selecting the numerical length of the duration and typing in the new duration you would like the effect to have.
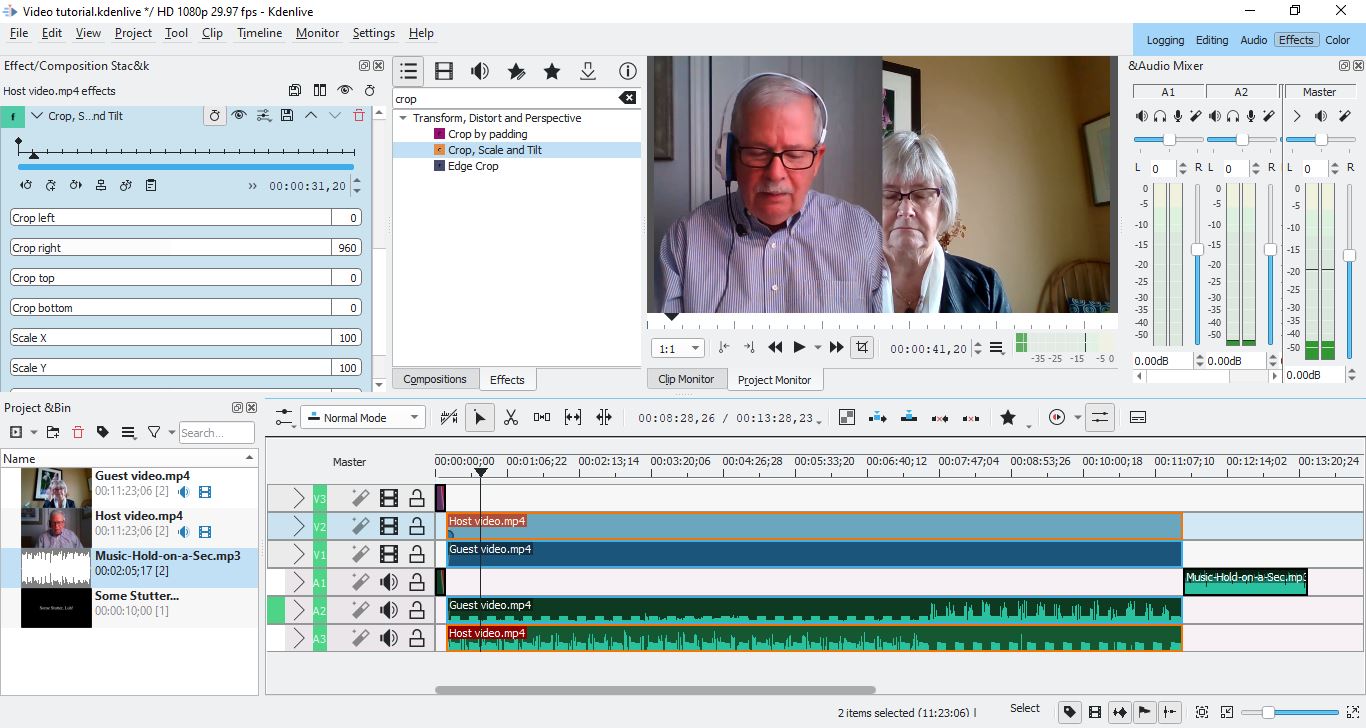
The next step is to change the size and position of the speakers’ clips, since they are both full-size, such that one of them completely overlaps the other. Specifically, we will need to arrange the two clips in such a way that each clip occupies one half of the screen. We can do this by using the “Transform” and “Crop, Scale, and Tilt” effects.
First, let’s use the two effects to move the position of the host’s clip in the video, then crop the right side of the clip. To do this:
- Click on the host’s clip in the timeline
- Search “Transform” in the search bar in the Effects tab
- Double-click on “Transform” under “Transform, Distort, and Perspective”
- In the settings for the “Transform” effect, there is a box labeled “X” that contains the number 0. Change the number to -500 (this will move the clip to the left by 500 pixels).
- Search “Crop” in the search bar in the Effects tab
- Double-click “Crop, Scale, and Tilt”
- In the Effect/Composition Stack, there will be a set of sliders for the Crop, Scale, and Tilt effect. Click on the number 0 in the “Crop right” slider and replace it with the number 960
- 960 pixels is half the width of the video; by selecting 960 as the number, the host’s clip will occupy half of the screen.
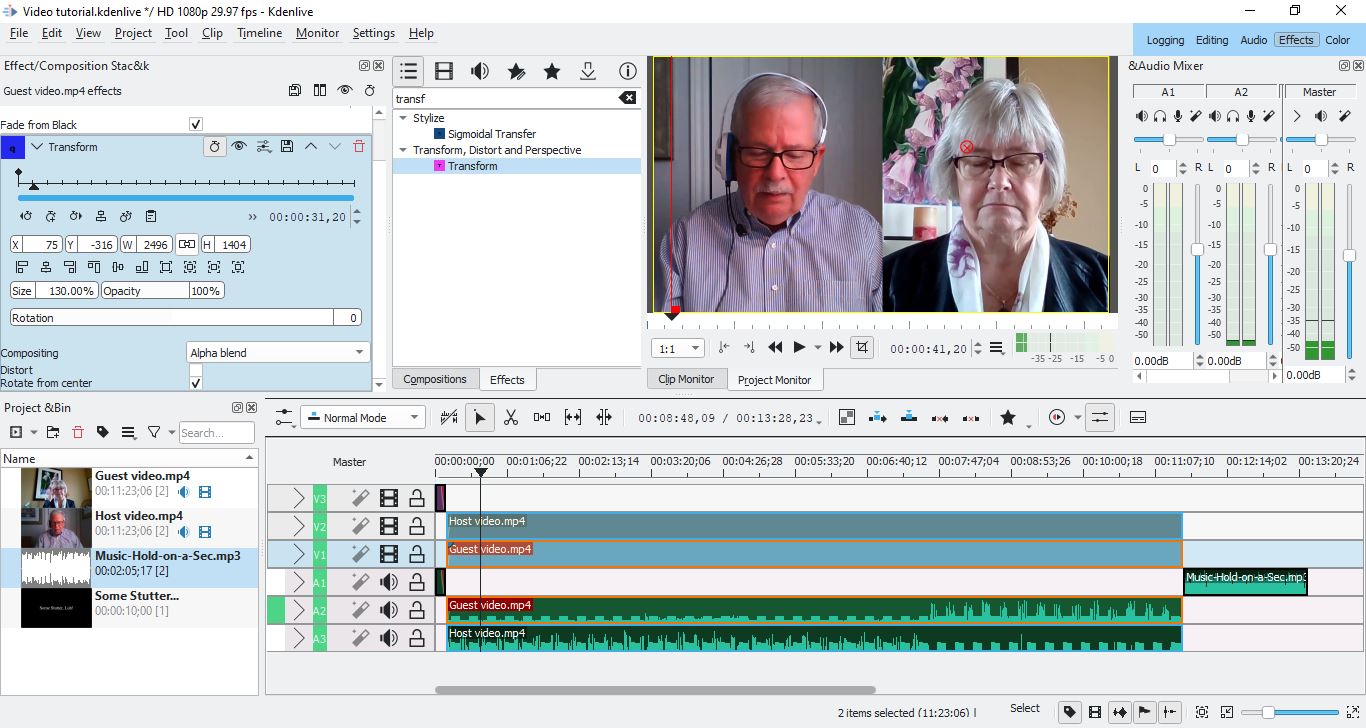
Now we need to apply the Transform effect to the guest’s clip so that the guest’s face is no longer covered by the host’s clip:
- Click on the guest’s clip in the timeline
- Search “Transform” in the search bar in the Effects tab
- Double-click on “Transform” under “Transform, Distort, and Perspective”
- In the settings for the Transform effect (which are in the Effect/Composition Stack), change the size from 100% to 130%
- The purpose of this is so that we can move the video upwards so that the heads of the host and guest are aligned, without leaving an empty space at the bottom of the video
- Click on the red circle with an X in the video preview, and drag the guest’s video up and to the right so that the guest’s head is visible and at the same height as the host’s head
- For consistency, make sure that the guest’s video covers the entire right half of the video (that is, the video’s empty black background should not be visible). If there is a red line at the bottom of the video preview, then you probably need to move the guest’s video slightly lower.
Now, the video will look something like this:
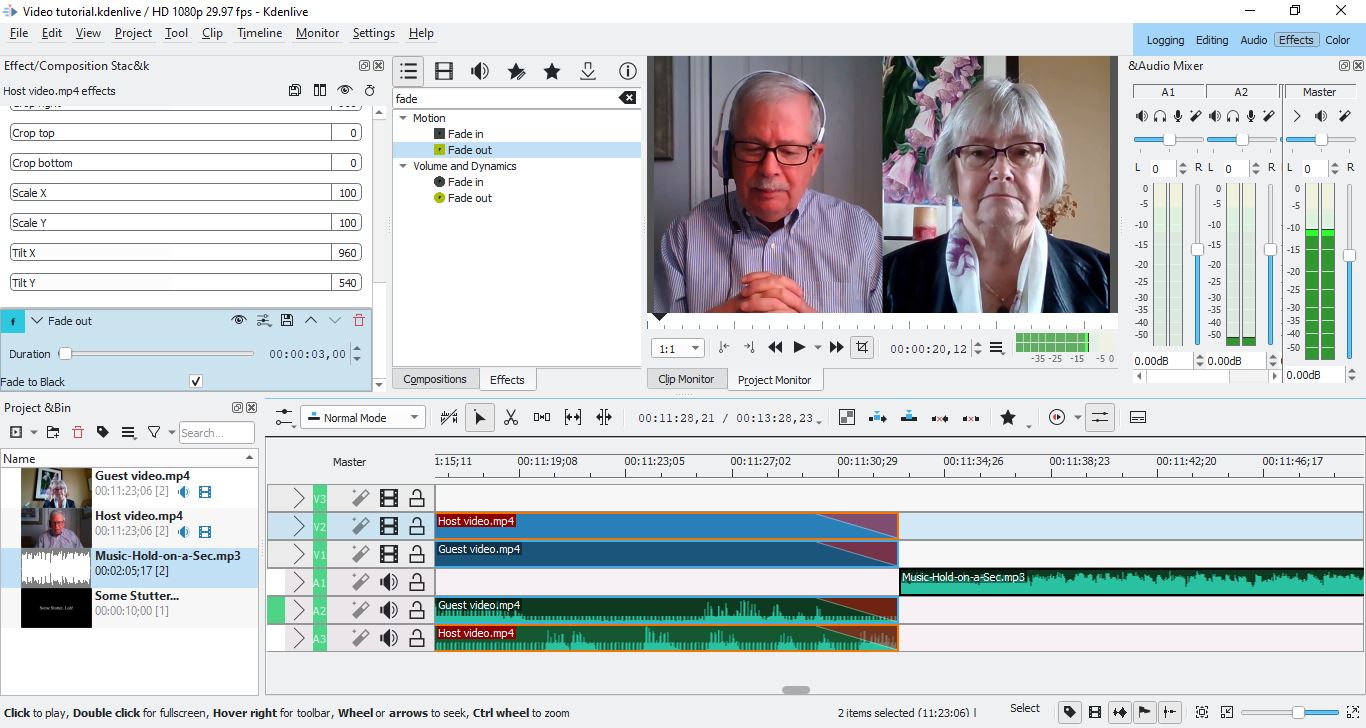
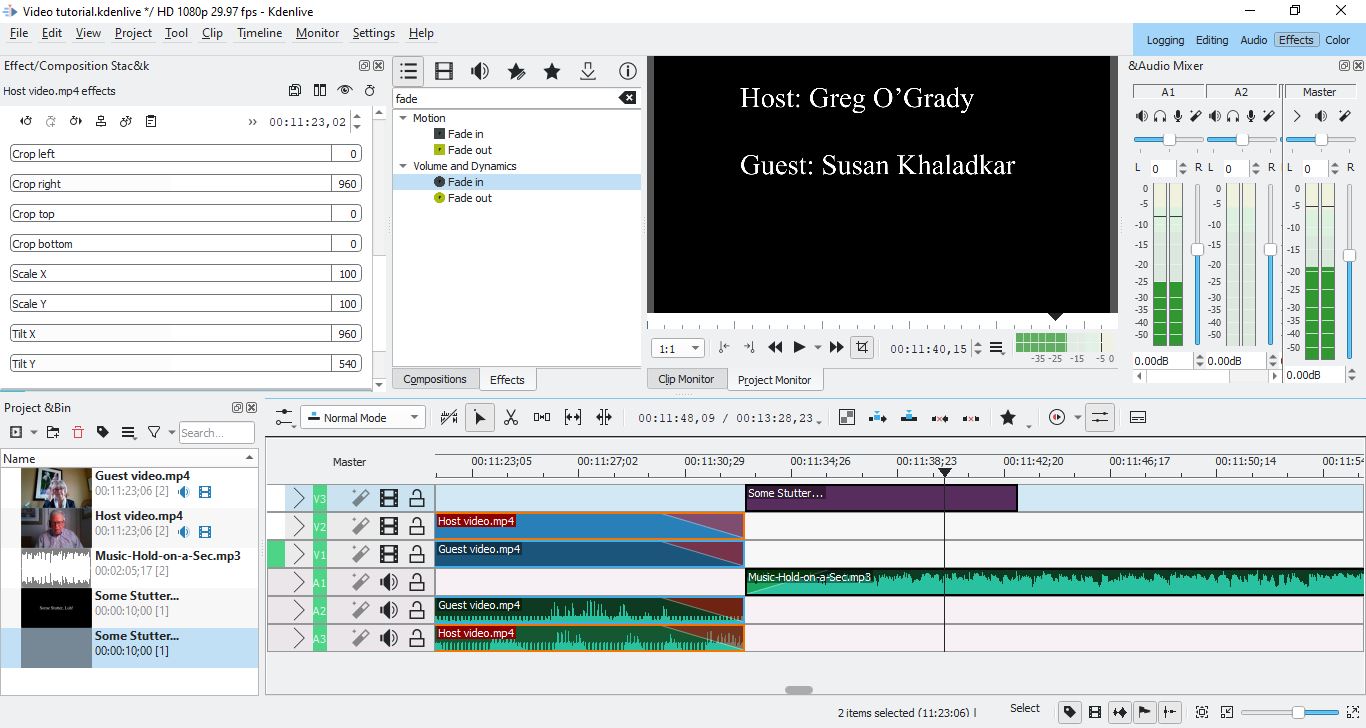
To finish editing the main content, we need to apply the Fade out effects to the host’s clip and the guest’s clip (specifically, the Fade out effect that applies to the video clip and the Fade out effect that applies to the clip’s associated audio):
- In the search bar in the Effects tab, type “Fade”
- Click the guest’s video clip
- Double-click on “Fade out” in the “Motion” category
- In the Effect/Composition Stack, tick the “Fade to Black” option for the Fade out effect
- Double-click on “Fade out” in the “Volume and Dynamics” category
- Click on the host’s video clip
- Double-click on “Fade out” in the “Motion” category
- In the Effect/Composition Stack, tick the “Fade to Black” option for the Fade out effect
- Double-click on “Fade out” in the “Volume and Dynamics” category
If the effects have been applied, they will be visible in the timeline at the end of the clips:
Outro
The final step is to create the outro.
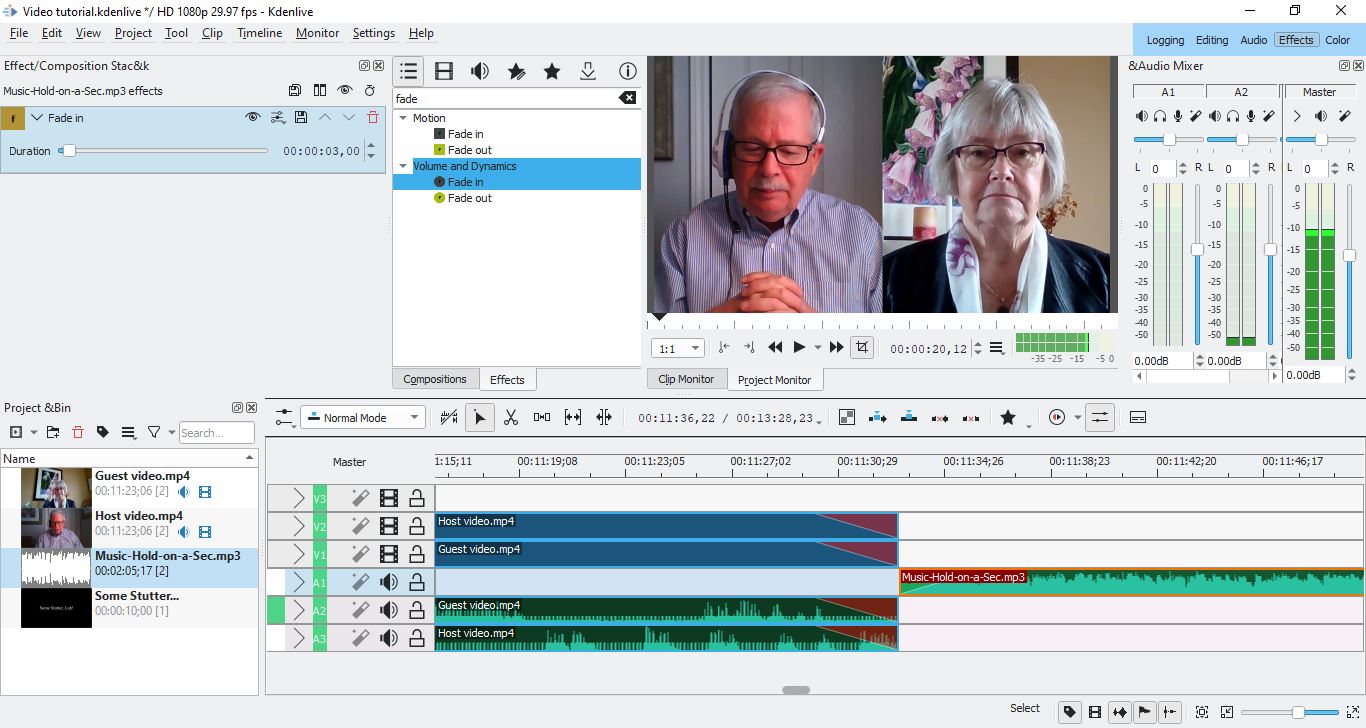
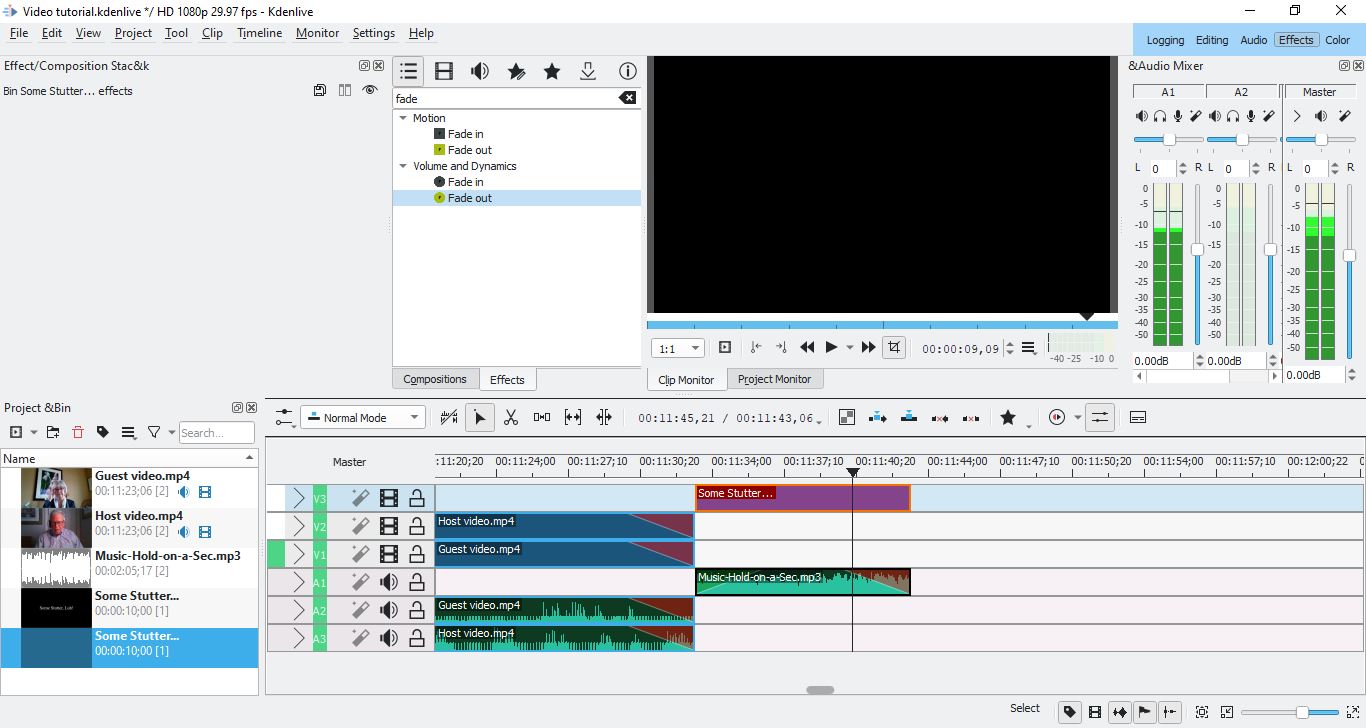
First, let’s apply the Fade in effect to the outro music:
- Click the audio clip for the outro music that occurs at the end of the main content
- In the search bar in the Effects tab, type “Fade”
- Double-click on “Fade in” in the “Volume and Dynamics” category
Next, let’s create a title clip containing the rolling credits that will occur after the end of the main content. First, we need to open the title clip editor and type in the credits:
- Click on the Project menu
- Click on “Add Title Clip…”
- Click anywhere in the part of the window that contains the title clip content
- In the text box that shows up, type the credits for the video (see below)
- For example, you could type the following text (don’t copy-paste it, as this will make it so that the text box will not align with the centre of the title clip):
- Some Stutter, Luh!
Host: Greg O’Grady
Guest: Susan Khaladkar
- Some Stutter, Luh!
- For example, you could type the following text (don’t copy-paste it, as this will make it so that the text box will not align with the centre of the title clip):
- Right above the Properties tab, click the second button from the left (which is “Align item horizontally”) and then the second button from the right (which is “Align item vertically”)
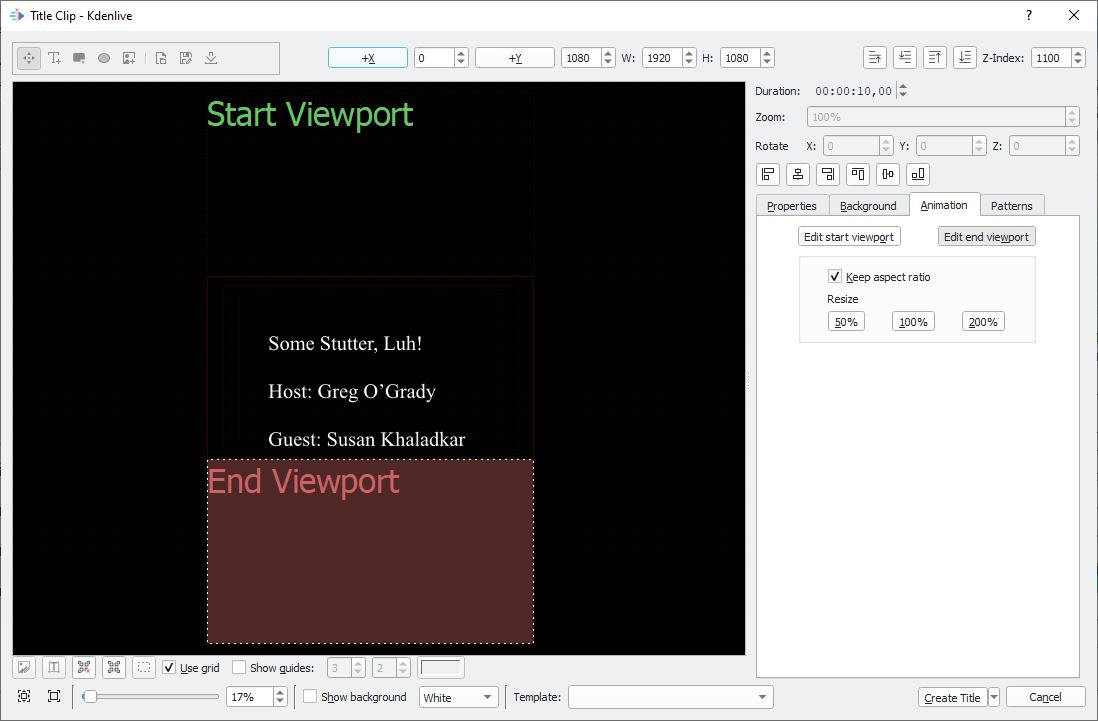
Next, we will make it so that the text scrolls upwards, and we will also change the duration of the clip so it doesn’t scroll by too quickly:
- Click the Animation tab
- Click “Edit start viewport”
- At the top of the title editor, there is a button labeled “+Y” and a textbox with the number 0 to the right of it. Replace the number 0 with the number -1080
- The height of the video is 1080px, so entering this number will ensure that the credits will scroll upwards completely and disappear at the end of the clip
- Click “Edit end viewport”
- At the top of the title editor, there is a button labeled “+Y” and a textbox with the number 0 to the right of it. Replace the number 0 with the number 1080
- In the “Duration” text box in the top-right corner of the window, replace “00:00:05,00” with “00:00:10,00” to change the duration of the clip from 5 seconds to 10 seconds (this will slow down the speed of the scrolling)
Now, we need to create the title clip and place it at the end of the main content:
- Click the “Create Title” button in the bottom-right corner of the window to create the title clip
- Drag the newly created title clip from the Project&Bin part of the interface to one of the existing video tracks so that the title clip begins at the end of the main content that precedes it
- Alternatively, you can create a new video track by right-clicking on one of the tracks below the word “Master” in the timeline and clicking on “Insert Track…” Then, click OK, and drag the title clip to this new video track (the edges of the title clip will snap into place when one of them is aligned with the end of a main content clip)
Finally, we need to trim the outro music and apply a Fade out effect to it:
- Select the marker in the timeline at the very end of the title clip
- You can press Ctrl-+ (or Cmd-+) to zoom in and check if the time you have selected is at the end of the title clip rather than slightly before or after it
- Press X to change the cursor to a Razor tool
- Click the point in the outro music clip that is at the same time that you previously selected
- There will be a vertical black line that can guide you: move your cursor so that the vertical red line of the Razor tool overlaps and covers the vertical black line of your previous select.
- Press S to change your cursor back to a Selection tool
- Select the outro music clip to the right of the point you selected above
- Right-click the clip and click “Delete selected item”
- Select the outro music clip that has not been deleted
- In the list of results in the Effects tab, double-click on “Fade out” under “Volume and dynamics”
Rendering the video
Although the video has been edited, there is one more step: we need to render the project as a video file that can be uploaded to a streaming platform or viewed by a video player.
What format you choose to render the video as will depend on factors such as how you are planning on using the video. For example, if you are planning on uploading the video to YouTube or Vimeo, you will need to render it in a supported format (for more information, you can access YouTube’s list of supported file formats and Vimeo’s help page on uploading to Vimeo).
However, in our case, we will create an .mp4 file using the H.265 codec. To do this:
- Click on the Project menu
- Click on Render
- Expand the “Ultra-High Definition (4K)” category
- Click on “MP4-H265 (HEVC)”
- Check the target directory and file name in the “Output file” text box. If you want to change the directory and/or file name, click on the “Open file dialog box” to the right of the text box, navigate to your desired folder, and click “Save”
- Click “Render to File”
You have now created an edited interview.
Other resources
Besides this tutorial, there are a number of resources available online for learning how to edit videos using different types of video editing software. Some of these resources are listed below.
Kdenlive
One useful resource for Kdenlive is the official Kdenlive manual, which also has a “tutorials” page with links to a number of tutorials.
Resources on YouTube include:
- Kdenlive Tutorials is a playlist of video tutorials created by the YouTube channel TJ FREE
- LEARN KDENLIVE IN 15 MINUTES ~ Basic Video Editing Tutorial for Beginners, a tutorial by Chris’ Tutorials
Shotcut
The Shotcut website has a page with links to several different tutorials.
DaVinci Resolve
Blackmagic Design (the company behind DaVinci Resolve) provides several tutorials for different aspects of DaVinci Resolve.
iMovie
Apple provides a guide to using iMovie.
